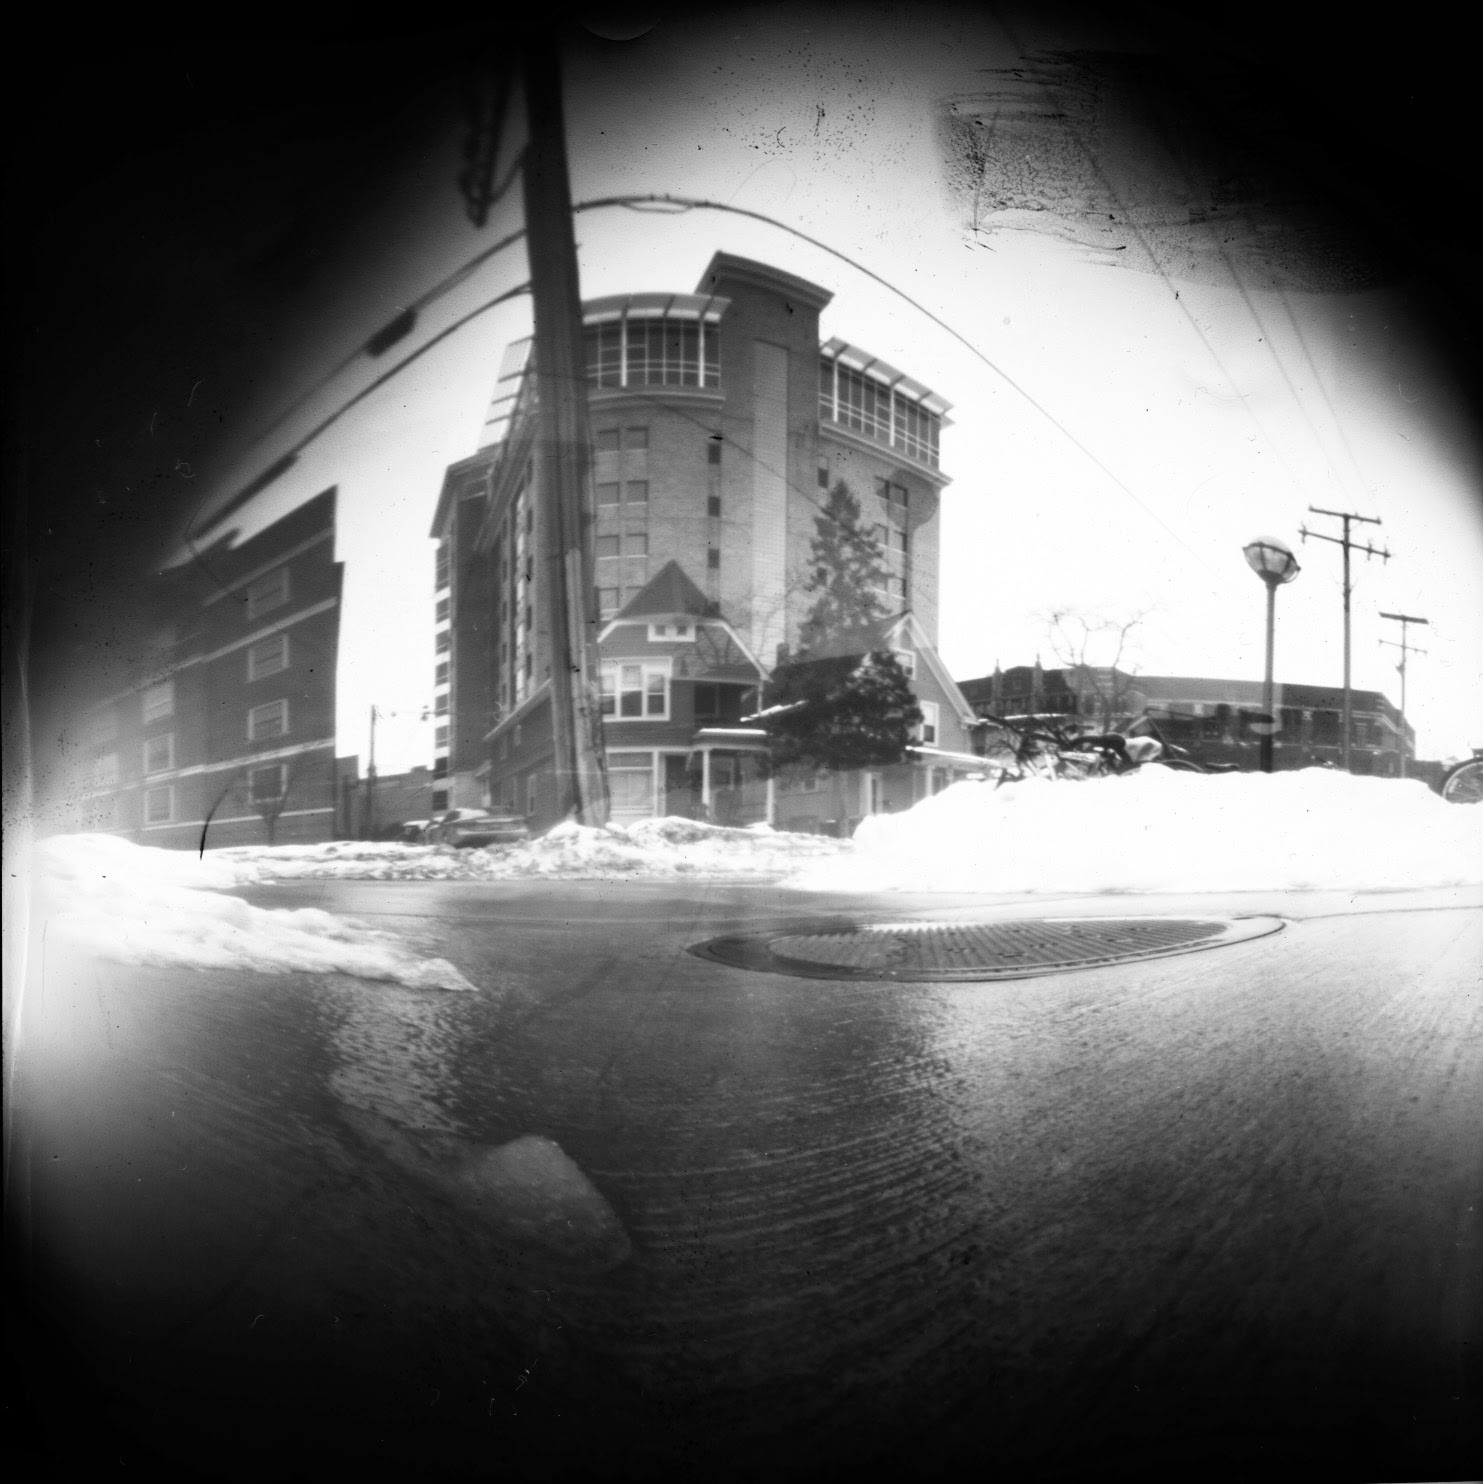
1. Use your print as a paper negative and make a contact print. Simply place your print on top of a piece of photo paper and into a contact printer to keep it flat. It will take a long exposure time, but eventually, you will get a positive print. You should start with a grade 3 or higher filter as the resulting print will be flat as you are printing through the paper.
2. Scan your print as a Positive and simply Invert it within Photoshop or other image editing program. When scanning prints, be sure to insert the white foam piece into the lid. This will helps keep your print flat during scanning.
The simplest way is to use Epson Scan.
Make sure that the lid has the reflective insert in place (see image below).
Set the resolution to 300 x the number that you want to enlarge it. Let's say your print is 5x7. If you wanted to print a 5x7, you would simply need to scan it at 300. If you want to be able to make it 3x as big, so 15x21", you would scan it at 3 x 300 so 900. I would like you to make prints that are approximately 11x15".

Be sure to selected Professional Mode if you are prompted by a window asking you what mode you want to use.
16 bit grayscale
You need to adjust the tones to insure that you aren't losing any information in the highlights or shadows. Set the white point and black point to just outside the image data. Set the midtone to 1. Set the output to 1 and 255.
Turn Unsharp Mask off.
Scan it as a TIFF.
Invert the image. Image > Adjustments > Invert.
 Edit the tones using a Curves Adjustment Layer. Sharpen the image. Remove the dust using Dust and Scratches. Save as a TIFF. Print!
 If you want to use SilverFast - don't really feel it is worth it for pinhole prints - here is the info:
Reflective
Positive
48 > 24 Bit
To determine what resolution to scan at, multiply 300ppi by the number of times you want your print enlarged. For example, 900ppi will give you a print 3x the size of your original. If you have a tiny print, scan it higher. If if doubt, go with 900ppi.
When you open the scans in Photoshop, go to Image > Mode > Grayscale. This is because we scanned the print as a color image, but want it to be in Grayscale mode before we run ColorPerfect. Crop as desired.
Run ColorPerfect. It should think it is a Black and White negative and generate a good looking positive. If it doesn't look good, cancel it and just invert the tones in Photoshop by going to Image > Adjustments > Invert.
Edit the tones. Sharpen the image. Remove the dust. Print!


No comments:
Post a Comment